Trending Topics

 Trending
Midjourney: Find the exact image style you’re looking for

Midjourney creates some of the most stylised, least “AI-looking” images of any AI generator. But if you’re relying on text prompts alone to guide Midjourney, it can be tough to get the style you’re looking for.
Here, we’re going to show you how you can use Midjourney’s various tools to define the style of an image. Then all you need to concentrate on is describing the content.
We’re going to put these methods in order of effectiveness, starting with the most reliable.
Moodboards
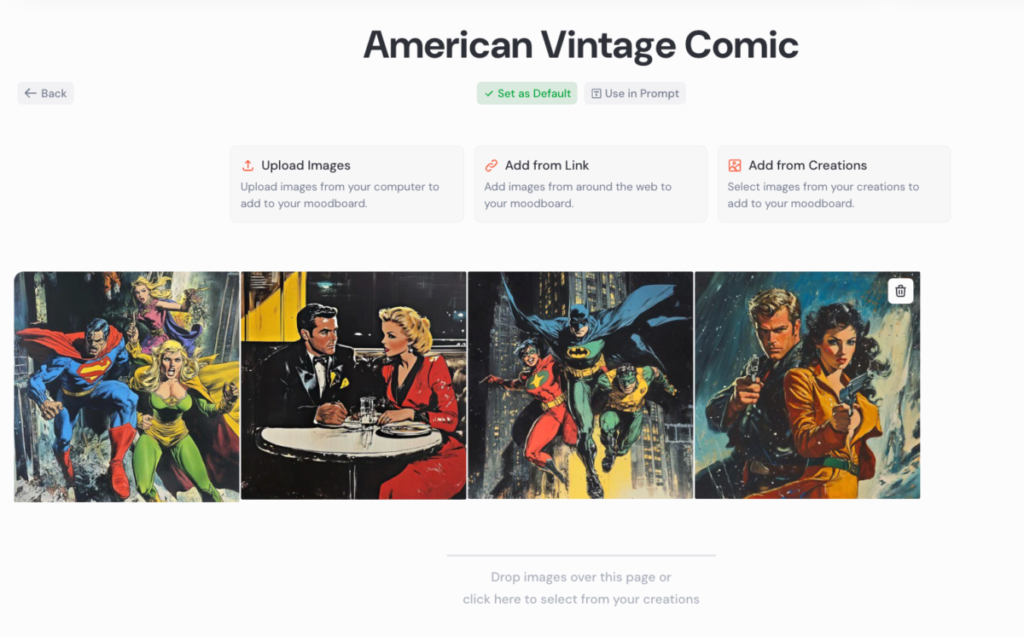
Moodboards are a brilliant way to define the aesthetic you’re looking for and, if created correctly, they should deliver consistent results every time.
This feature lets you either upload images stored on your computer, links to images found on the web (the actual image URL, not the web page it’s on) or images from your previous generations on Midjourney.
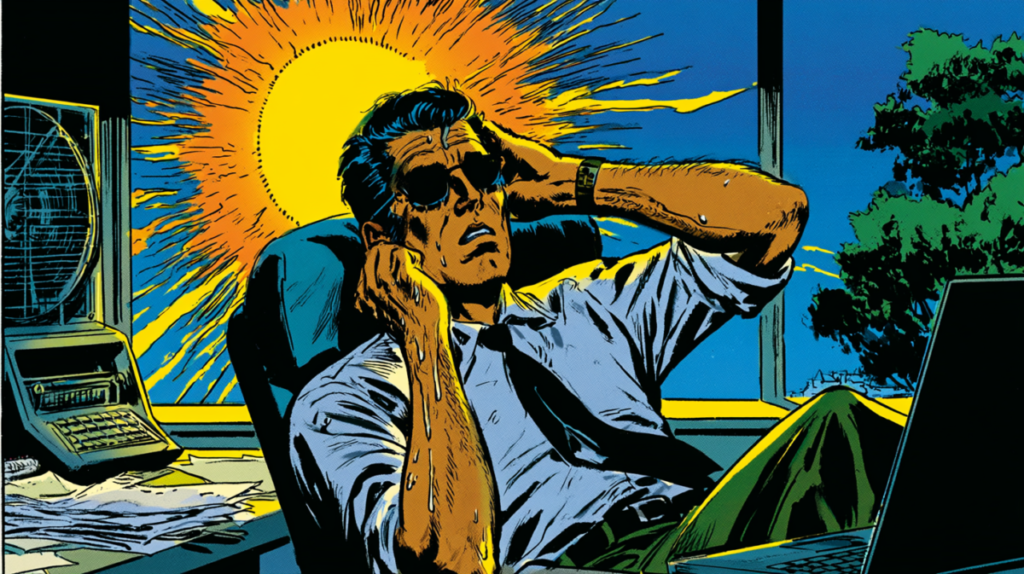
In the example above, we’ve found a series of images from vintage American comic books. It’s important that the images all have a fairly consistent look, so the AI can grasp which style you’re shooting for.
Once you’ve created a moodboard, you can generate new images in that style in one of two ways:
- Click into the moodboard itself and, under the title of the moodboard, select the option to Use in prompt. This will add a variables such as “–p m7314593058677325850” to your prompt window, telling the image generator to adopt that moodboard’s style.
- Click Create, then describe the content of the image you’re looking for in the prompt window. Before you submit the prompt, click the P icon to the right of the prompt window and choose your moodboard. Make sure any other personalise options are unticked, including your own global profile.
Let’s say we’re creating an ad campaign for an air conditioning company and we want to use that vintage comic book style. By entering the following prompt:
A man sat in an office, struggling with the heat
And by choosing our moodboard, we get results like the image shown below.
Style Explorer
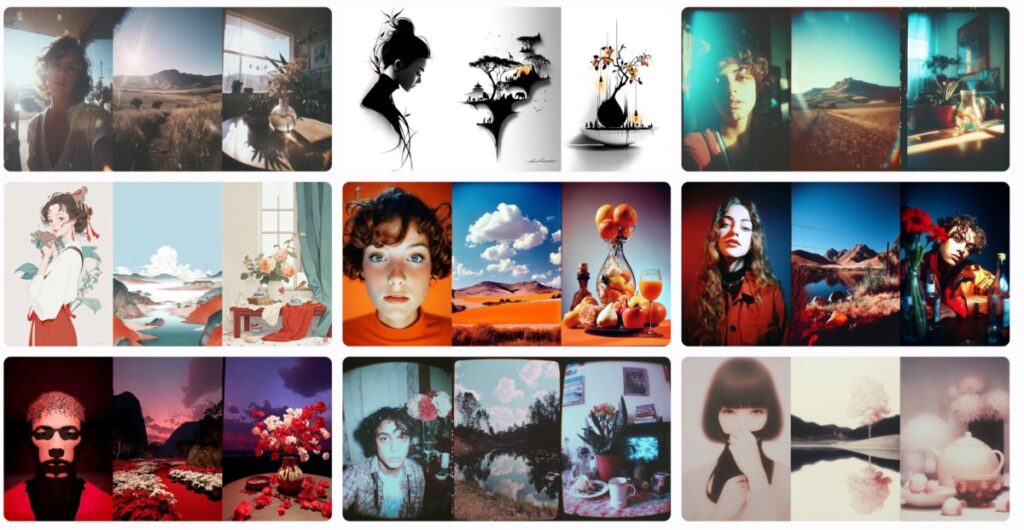
If you visit the Explore section of the Midjourney website and click the Styles icon on the right-hand side of the screen, your screen will be filled with images batched into different styles.
At this point, it’s pretty much a case of scrolling through the styles until you find one that you want to use. When you click on your chosen style, it will have an -sref number above the images, which is the style reference number. You can add that to the end of your prompts to generate images in that style.
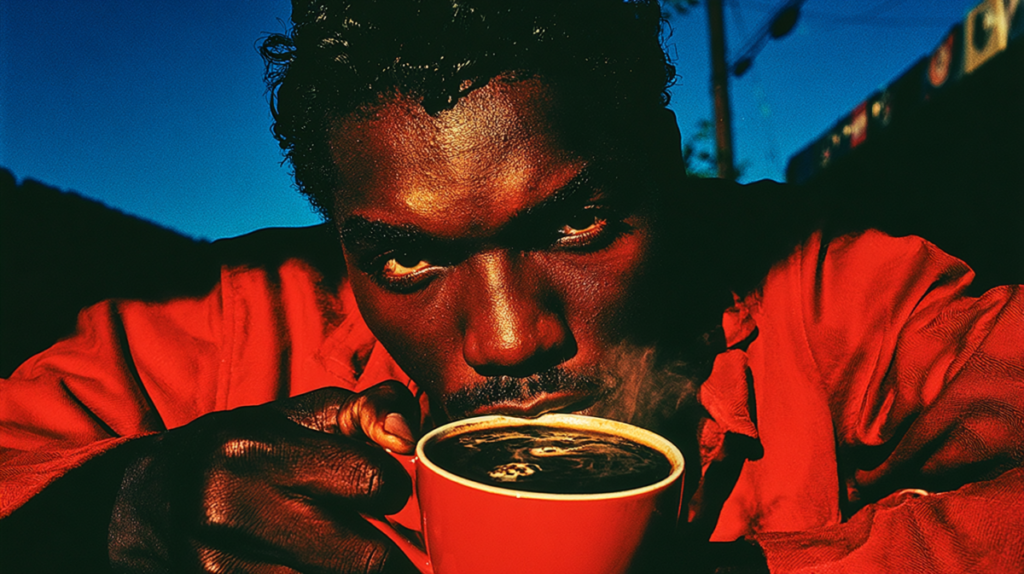
We like the style you see in the middle right of the grid above, with the over-saturated colours and vignette around the edges of the image. So, on the style page, we click the Copy button and it inserts the style reference number in the prompt box. Now we enter the prompt:
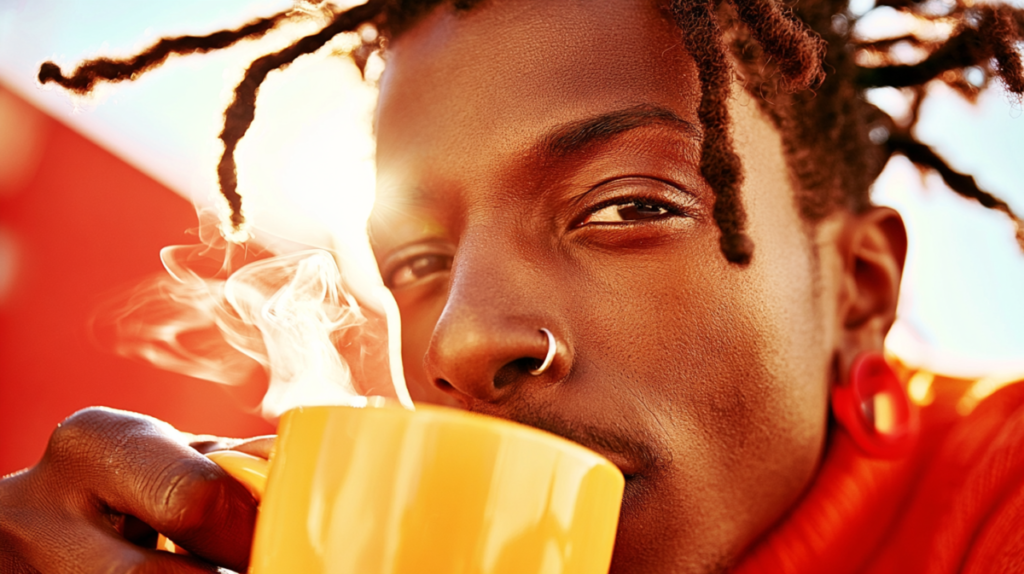
A 25-year-old black male drinking a coffee from a mug. Outdoors in the sun
And Midjourney generates a selection of images in that style, including this one…
Style Creator
Midjourney now has a feature that lets you create your own styles. With this Style Creator you start with a prompt and then you’re shown dozens of different image styles, clicking on those that you like best to refine the style.
If you’ve got a certain stylistic direction in mind, you can either take your pick from recent styles you’ve used or search for a particular style (such as “duotone”) to give yourself a head start.
We’re going to start with a blank canvas, so we enter the prompt:
A young woman drinking a smoothie from a clear container. She's in the park.
And we’re immediately shown a grid of different styles to pick from…
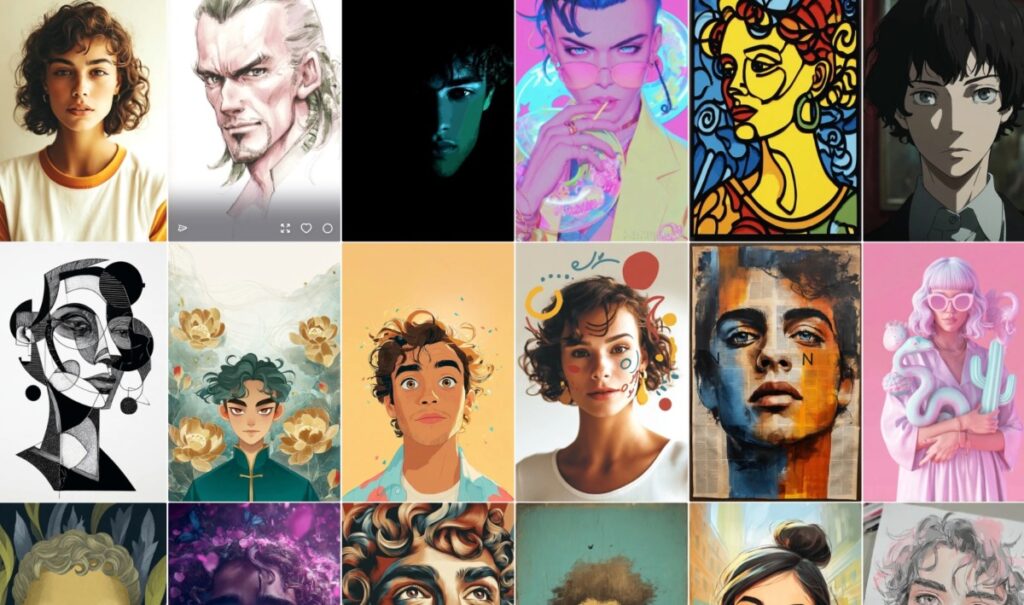
You need to pick two or three different styles before Midjourney will start “previewing” images that it thinks reflects the style you’re seeking.
If the AI hasn’t nailed it yet, keep picking images until the previews get closer to your preferred look. We find this process a tad hit-and-miss. Sometimes the AI drifts off into a different direction and you’re better off starting over than trying to refine what you’ve got.
After clicking on six or seven different styles, we finally get close to the look we were after for our advertising campaign:
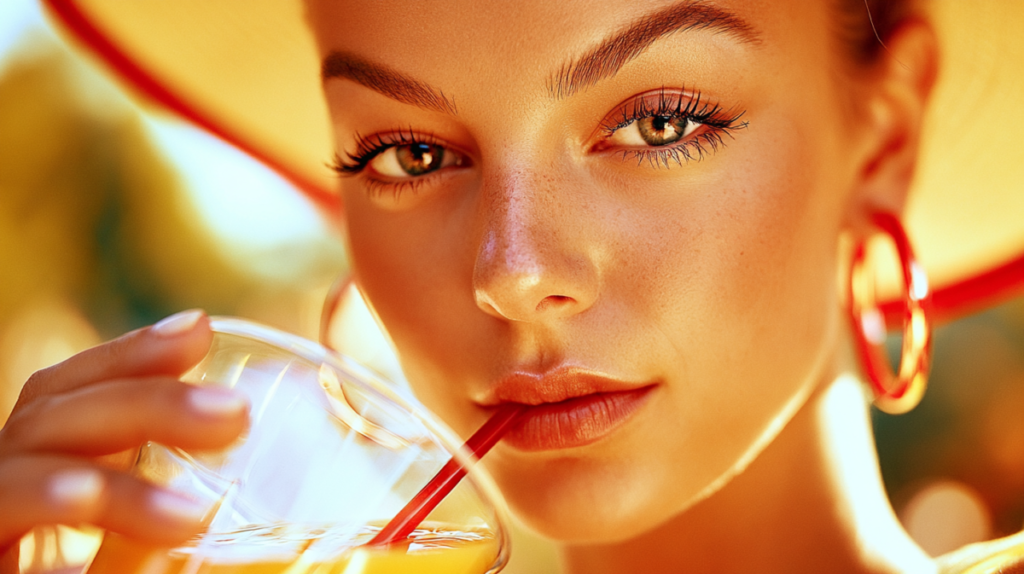
All of the preview images that have been generated during the Style Creator process will be saved in your account (look in Organize). They’ll also have a style reference number associated with them. Just to prove it works, we take the style number for the image above (–sref 4457001736 if you want to try it yourself) and apply it to the prompt we used above of the guy drinking coffee. As you can see, it now follows the same style:
One final piece of advice on styles. As Midjourney moves from through different versions (we’re on 8.1 at the time of writing), styles change. So a style reference that works with Midjourney 8.1 may have a very different look when Midjourney 9 arrives. To counteract that, the Midjourney editor lets you pick earlier models when generating images. So if you come back in a few months’ time and want to create images in the same style, look for the model used to create the original and then work with that.
About The Author

Barry Collins
NEXT UP