
Everything you need to know about Midjourney
As if from nowhere, Midjourney burst onto the generative AI scene earlier this year with staggering results. Its AI images, based on simple text prompts, were a cut above those of its rivals. And that includes OpenAI’s WALL-E and Adobe’s Firefly, products stemming from two companies valued in the billions.
What’s even more astonishing is that throughout 2023 Midjourney has continued to defy our expectations through iterative improvements. In this Midjourney guide, we aim to answer the main questions people are asking about the service in one simple article.
What do I need to know about Midjourney?
Here’s a breakdown of the questions we answer about Midjourney in this guide. If you feel we’re missing any, please email [email protected] and we’ll consider it for our next update of this article.
- How to use Midjourney on Discord to create AI images
- How to use reference photos in Midjourney
- How to increase resolution in Midjourney
- How to experiment with different styles in Midjourney
- How much does Midjourney cost?
- How to cancel Midjourney subscription
- How to use Midjourney for free
How to use Midjourney on Discord to create AI images
Once you’ve registered for a Midjourney account and signed into the Midjourney Discord, there are a couple of ways to create images.
You can visit any of the 20 General Image Gen threads in the Midjourney Discord and start generating images there. However, if you use these threads, it’s easy to lose track of the images you’re creating amongst all of the other images being generated by other users.
Instead, it’s much easier to generate images using Direct Messages with the Midjourney Bot. To do this:
- Click on the Direct Messages icon in the top-left corner of the Discord app
- Select Midjourney Bot from your list of contacts
- Type your image prompts into the field marked ‘Message @Midjourney Bot’ at the foot of the screen
Click here for our detailed guide on how to write text prompts into Midjourney.
How to use reference photos in Midjourney
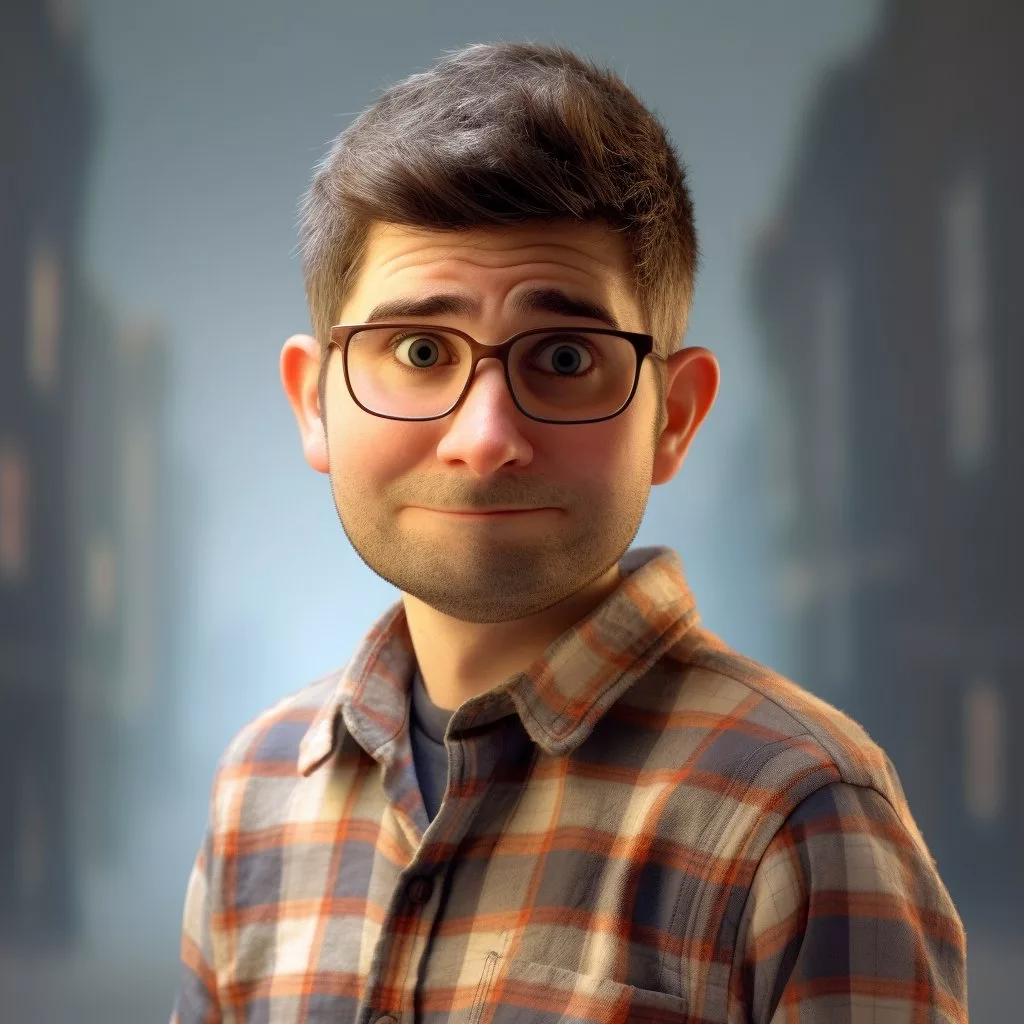
You can give Midjourney reference images, hinting what you’d like included in the generated images. This unlocks some of Midjourney’s more fun features. For example, you can upload a portrait of someone and ask Midjourney to turn it into a Pixar character, such as with my portrait below.
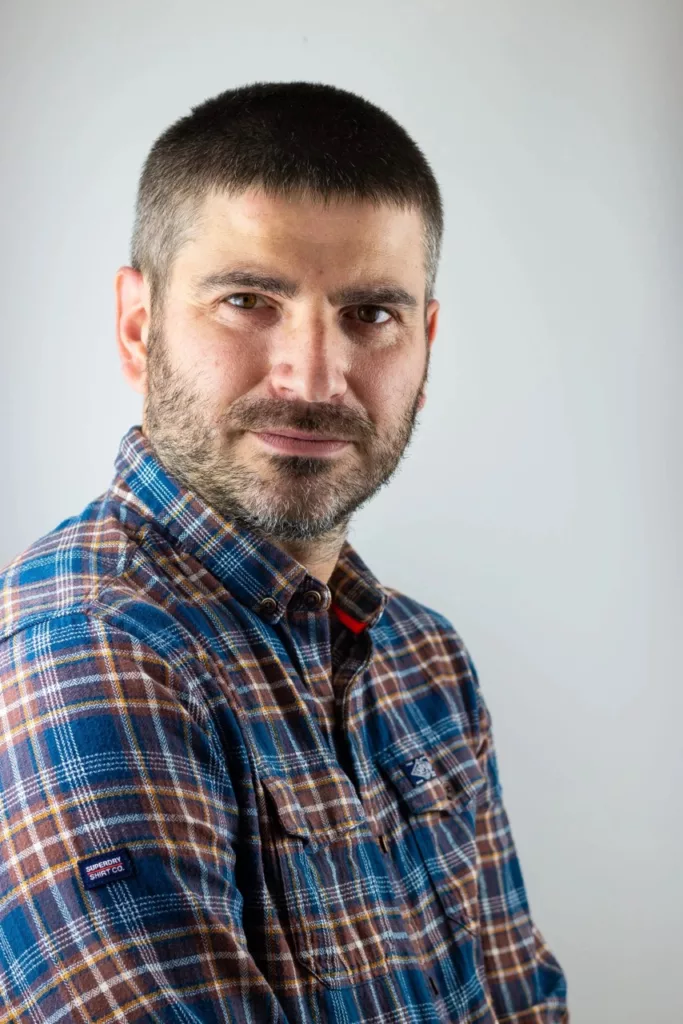
Note that when you upload a reference image, Midjourney won’t create an exact replica of it, but use it for inspiration. The results can be mixed and some trial-and-error is required.
To use a reference image, you’ll either need a link to an image hosted on a website or to upload an image to your Discord chat and generate a link from there. To upload an image into Discord, simply drag the image from your computer into a direct message with the Midjourney Bot, or click the + button in the message field and select the image, as shown in the screenshot below:
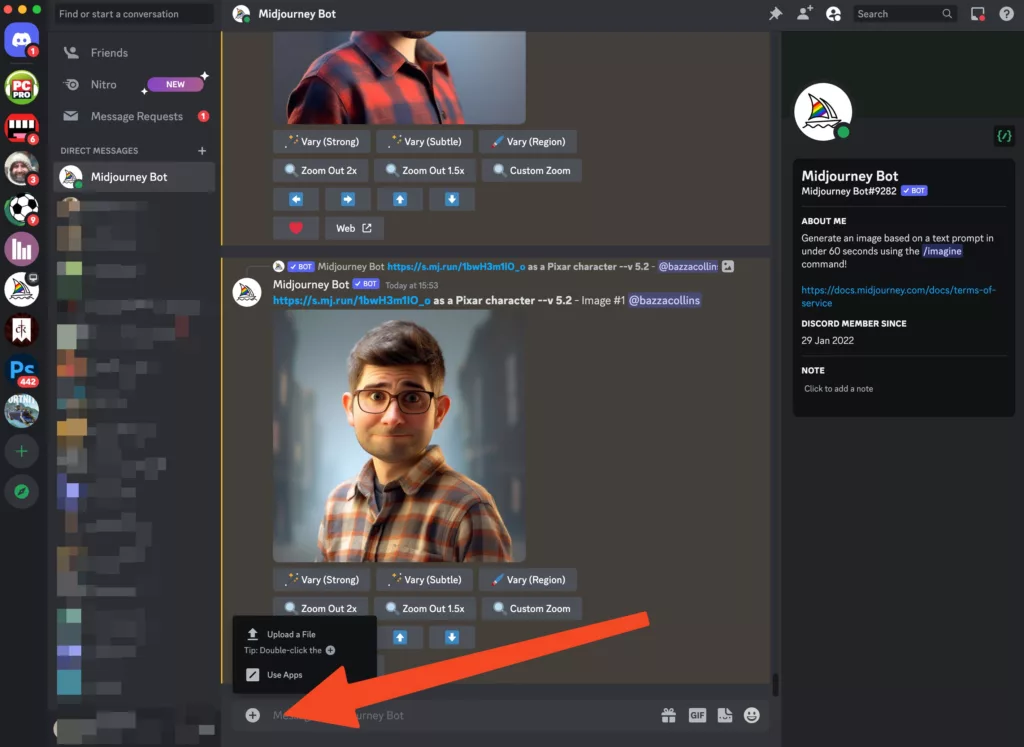
Once the image has been uploaded, right-click on it and select copy link.
Now create an image prompt in the following format:
/imagine http://sampleimage.jpg text-prompt parametersSo, for example, to create the Pixar character above, the prompt might be something like:
/imagine http://Barryportrait.jpg as a Pixar character --ar 3:4The “–ar 3:4” parameter at the end sets the aspect ratio of the generated image to 3:4.
How to increase resolution in Midjourney
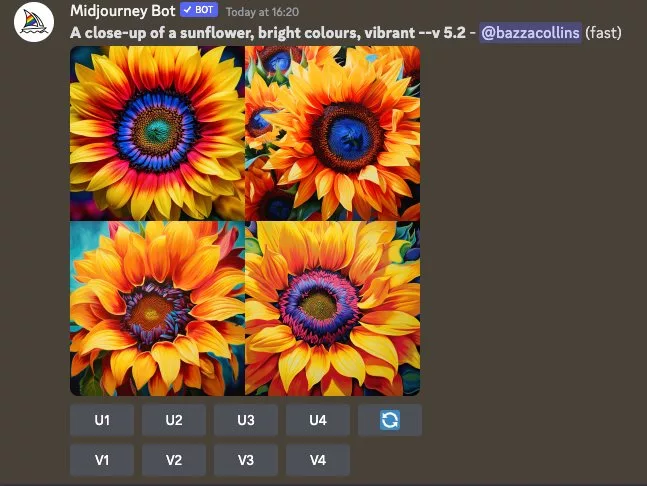
Whenever you enter an image prompt into Midjourney, you will get four different results, each delivered at low resolution.
If there’s a result you like the look of, you can press the U1 (top left), U2 (top right), U3 (bottom left) or U4 (bottom right) button beneath the results to increase the resolution of that particular image.
The upscaled image will be delivered at a resolution of 1,024 x 1,024 pixels, in the default square aspect ratio. That’s probably good enough to use on a web page, but it’s not high resolution enough for a large print.
The good news is Midjourney is now experimenting with further upscaling options that really could let you print its AI-generated results at A3 size or beyond.
Once you’ve performed the initial upscaling, as detailed above, you’ll now see two further options to Upscale (2x) and Upscale (4x). Curiously this rather undersells the amount of upscaling involved here, because the 2x upscale delivers images at 2,048 x 2,048 (which is actually 4x as many pixels) and the 4x upscale has a resolution of 4,096 x 4,096 (8x as many pixels).
Note that the 4x upscale images can take 2-3 minutes to complete, compared to the few seconds it takes to complete ordinary 1x upscaling. Given that Midjourney subscriptions are based on “Fast hours” – the amount of time you get access to the GPU farm – this may reduce the number of images you’re able to generate in your given allotment of time.
How to experiment with different styles in Midjourney
A recent addition to Midjourney is the Style Tuner. It’s exceptionally handy for those times when you know what you want the subject of an image to be, but you’re not sure which style of image to go for. The Style Tuner gives you a menu of different styles that you can take your pick from, mixing and matching until you get the look just right.
To experiment with the Style Tuner, instead of typing /imagine at the start of a prompt, type /tune. So, for example, you might try:
/tune A buffalo looking directly at the camera, in the snow, ice hanging off furYou get to choose how many different styles you want to see – the default is 32, but you can reduce it to 16. When you’ve run the /tune command, you’ll be shown a web page with different styles on it, and you’ll be invited to pick which ones you like best. It’s suggested you pick a minimum of five for the best results, but you can pick as many or as few as you like.
You also have the option to share the Style Tuner page, so that others can experiment and choose their own styles based on your results. Here’s the page for the buffalo prompt above, for example.
Once you’ve picked your favourite styles, you’ll find it generates a unique style code at the bottom of the page. You can copy that code or the entire prompt, and then feed that back into Discord to create an image based on the styles you preferred.
We chose five of the more stark, isolated images of the buffalo from our Style Tuner page and this is one of the more pleasing pics we ended up with:

How much does Midjourney cost?
| Basic Plan | Standard Plan | Pro Plan | Mega Plan | |
| Monthly sub cost | $10 | $30 | $60 | $120 |
| Annual sub cost | $96 ($8 per month) | $288 ($24 per month) | $576 ($48 per month) | $1,152 ($96 per month) |
| Fast GPU time | 3.3 hours per month | 15 hours per month | 30 hours per month | 60 hours per month |
| Relax GPU time | Not available | Unlimited | Unlimited | Unlimited |
Most people should start with the Basic Plan, which costs $10 per month if you subscribe on a month-by-month basis. It works out as $8 per month if you buy an annual subscription.
Fast GPU time indicates that you get instant access (or as close as possible) to a GPU. With an “average” image taking less than a minute, that gives you a minimum 200 images per month.
The Standard Plan is a big jump in price but means you get 15 hours (900+ images), plus access to Relax Mode. Here, jobs are placed in a queue and done when that’s possible.
How to cancel Midjourney subscription
If you’ve decided you’re not getting value for money from your Midjourney subscription, you can cancel. The cancellation will take effect from your next monthly or annual billing cycle, not immediately. So if your payment went out last week, for example, you’ll likely get around three weeks’ more service before you’re cut off if you pay monthly.
To cancel your Midjourney subscription:
- Visit the Midjourney website and log in, if required
- Click the Manage Sub link on the left-hand side
- Here you should see your renewal date, which shows when your next payment is due
- Click the Billing & Invoice details button
- On the following page, press Cancel Plan
How to use Midjourney for free
Midjourney doesn’t offer a free tier any longer. When the service first arrived, you were able to generate a few dozen images for free, but that has since been withdrawn.
It’s worth keeping an eye on Midjourney’s Twitter account, as it does (very occasionally) turn the free trials back on for short periods. Otherwise, it will cost you $10 to try the service for a month, but remember to cancel your subscription using the instructions above before the next renewal date.

Barry Collins
NEXT UP

Ryan Beal, CEO & Co-Founder of SentientSports: “Sports generate some of the richest datasets globally”
We interview Ryan Beal, CEO & Co-Founder of SentientSports, a startup using AI in fan engagement and athlete protection on social media.

Paris 2024: The greenest games ever
How the Paris 2024 Olympic Gamers organisers have lived up to their promise that this is the greenest Olympics ever

Salesforce, Workday team up to launch AI employee service agent
Salesforce and Workday have marked their new strategic partnership with the launch of an AI-powered assistant to handle employee queries.