How do you make photo thumbnails bigger on a Mac?
If you’ve got a folder full of photos on your Mac, you might be frustrated that the default thumbnail size for those pics is so small you can barely see what’s in them. What’s more, there appears to be no easy way to make those thumbnails bigger like there is in (hushed voice) Windows. However, if you know where to look, there is a simple way to make photo thumbnails bigger on a Mac. And we know where to look.
Step-by-step guide to making photo thumbnails bigger on a Mac
Time needed: 2 minutes
How to make photo thumbnails bigger on a Mac
- Open a Finder window
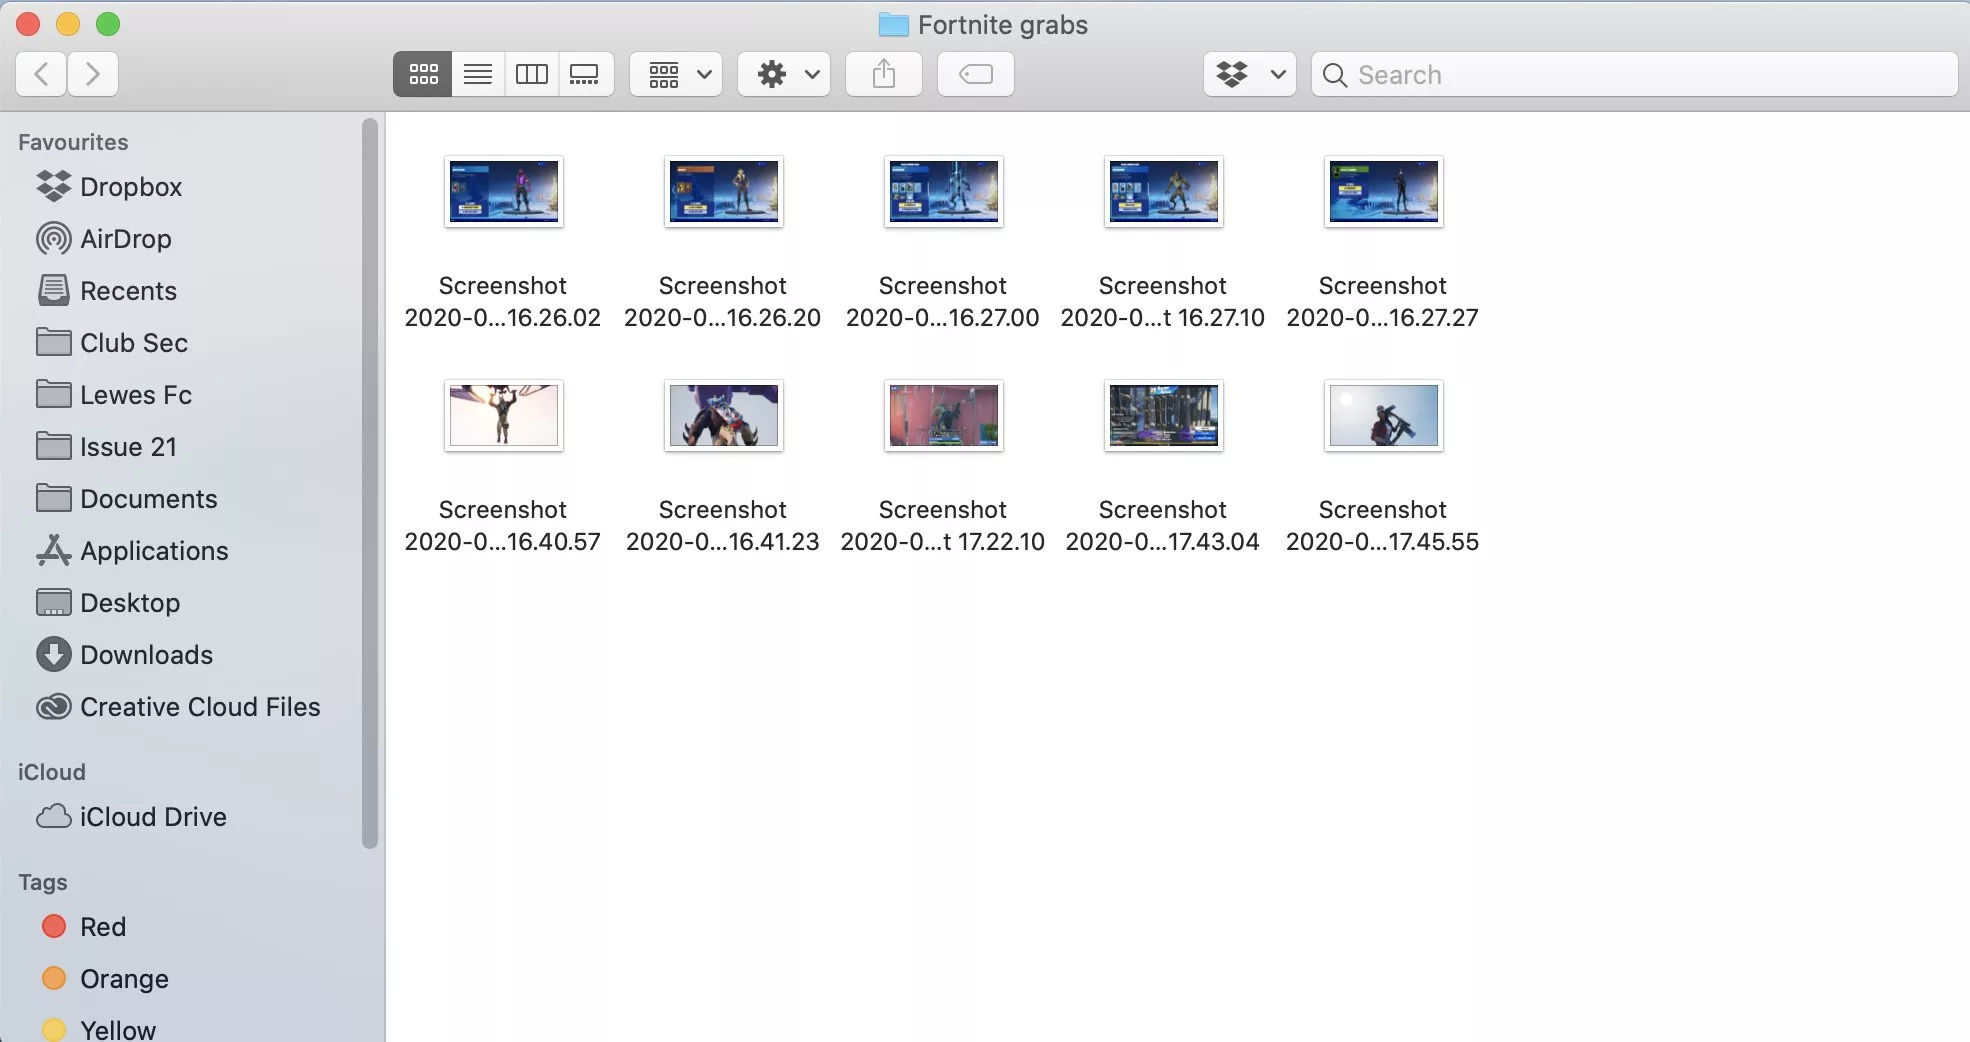
Open any Finder window with a folder containing images, such as our folder containing screenshots from the game Fortnite here. Now make sure you are in icon view, by clicking the icon with the six little squares.
- Open the View Options
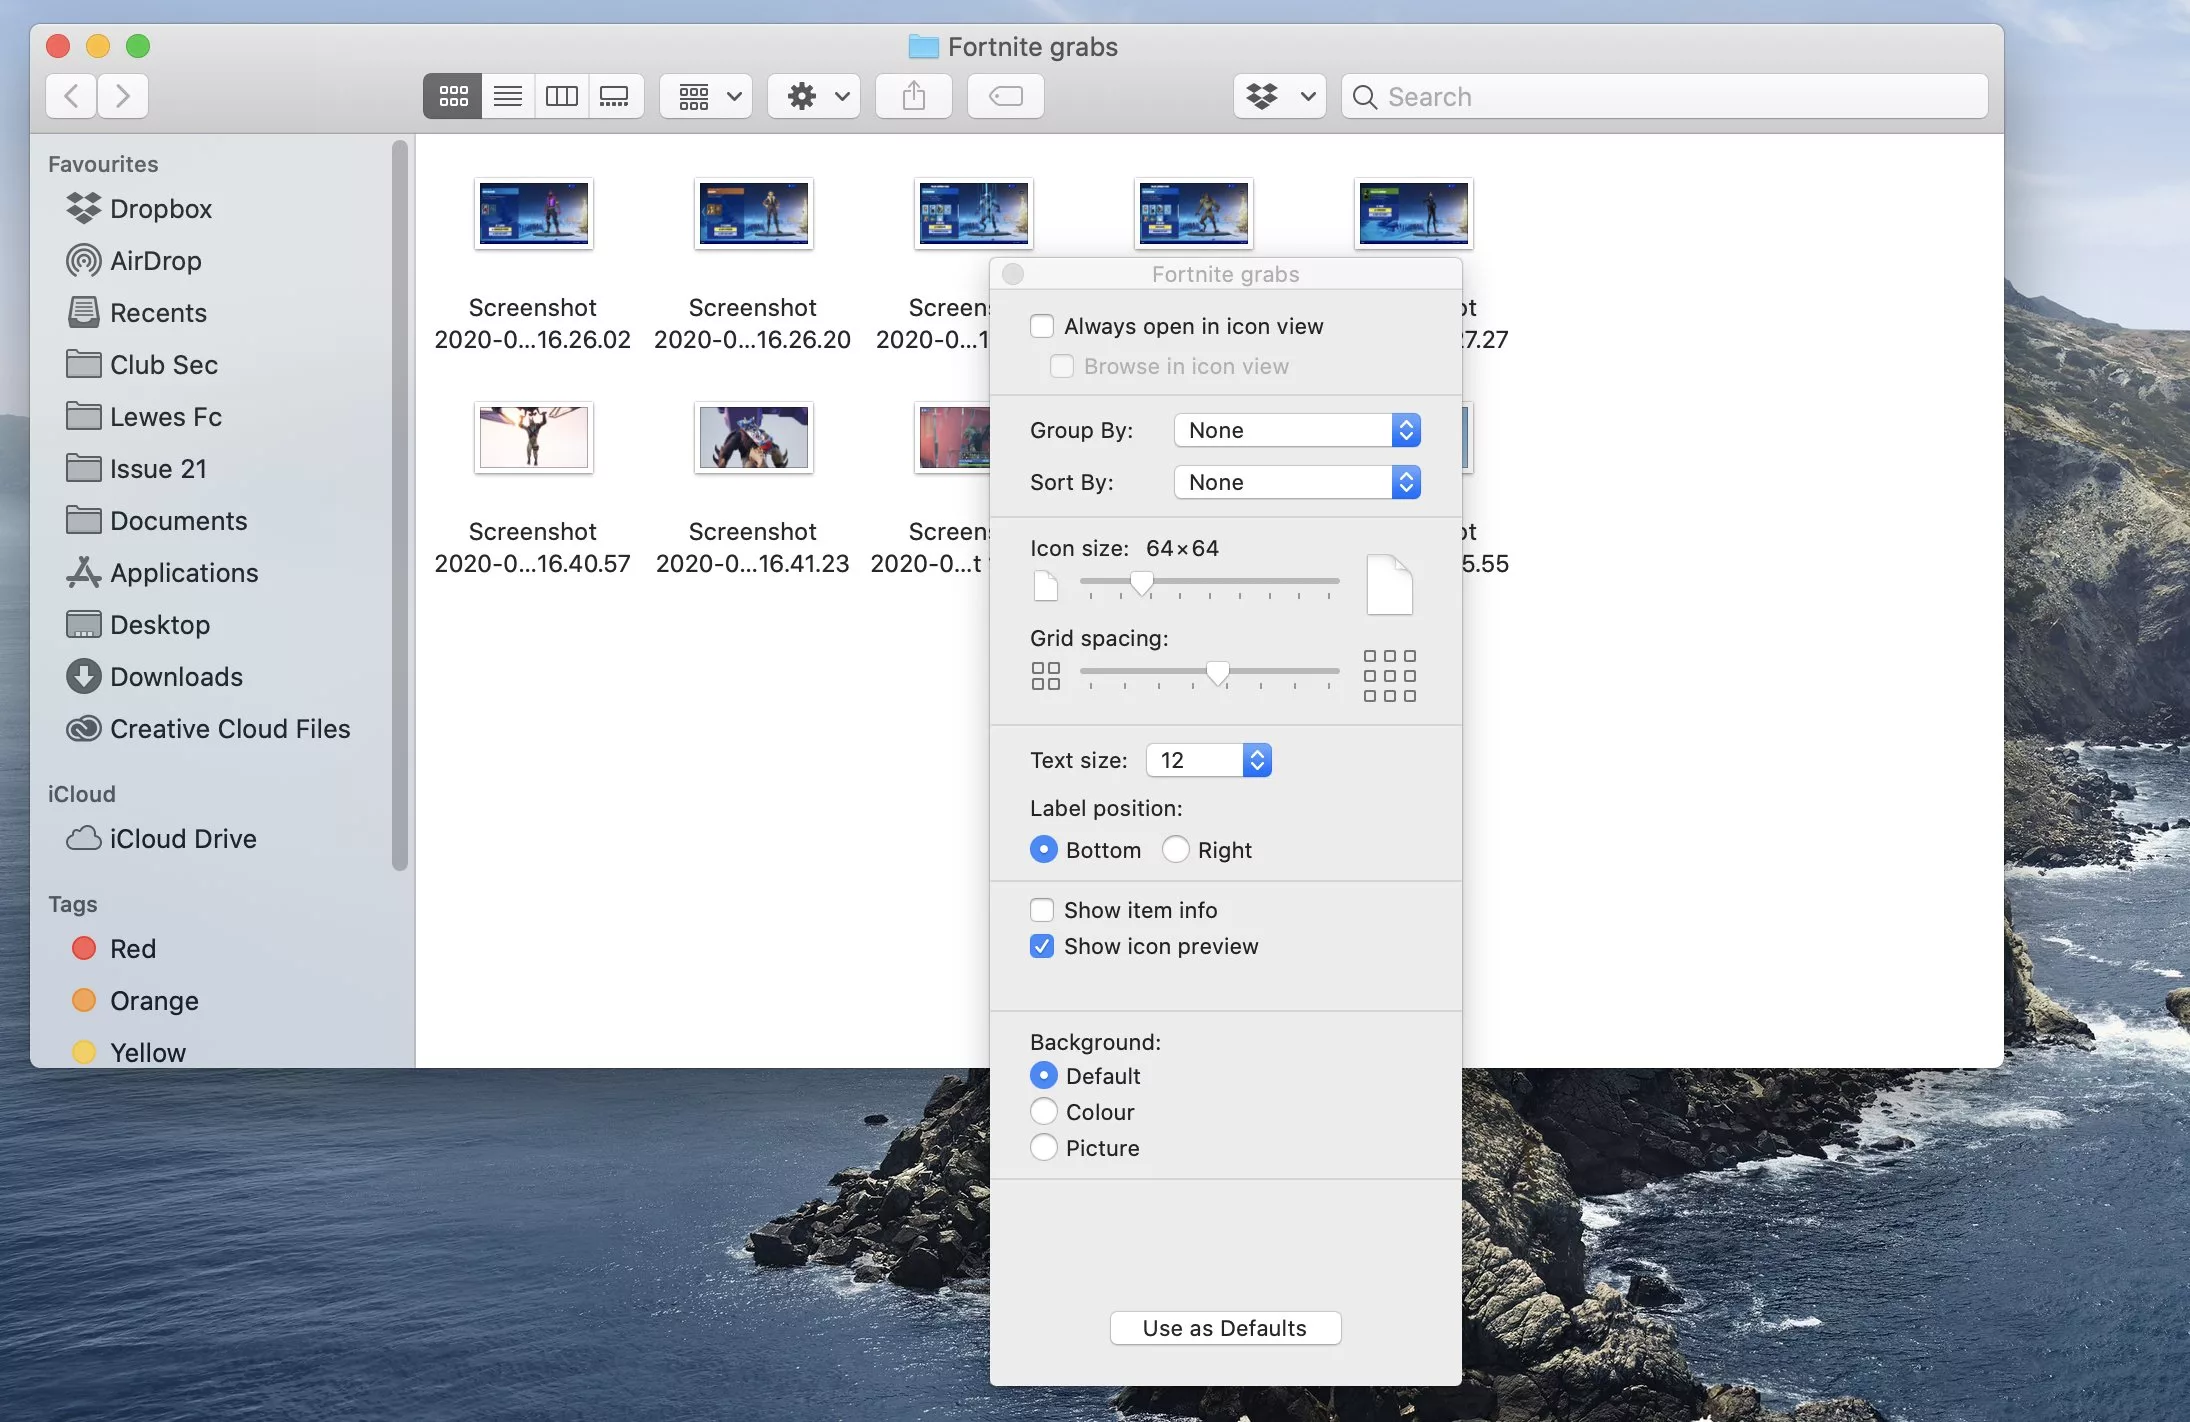
In the menu bar at the top of the screen, click View and then Show View Options. A rectangular window should appear over your Finder folder, like so:
- Change the icon size
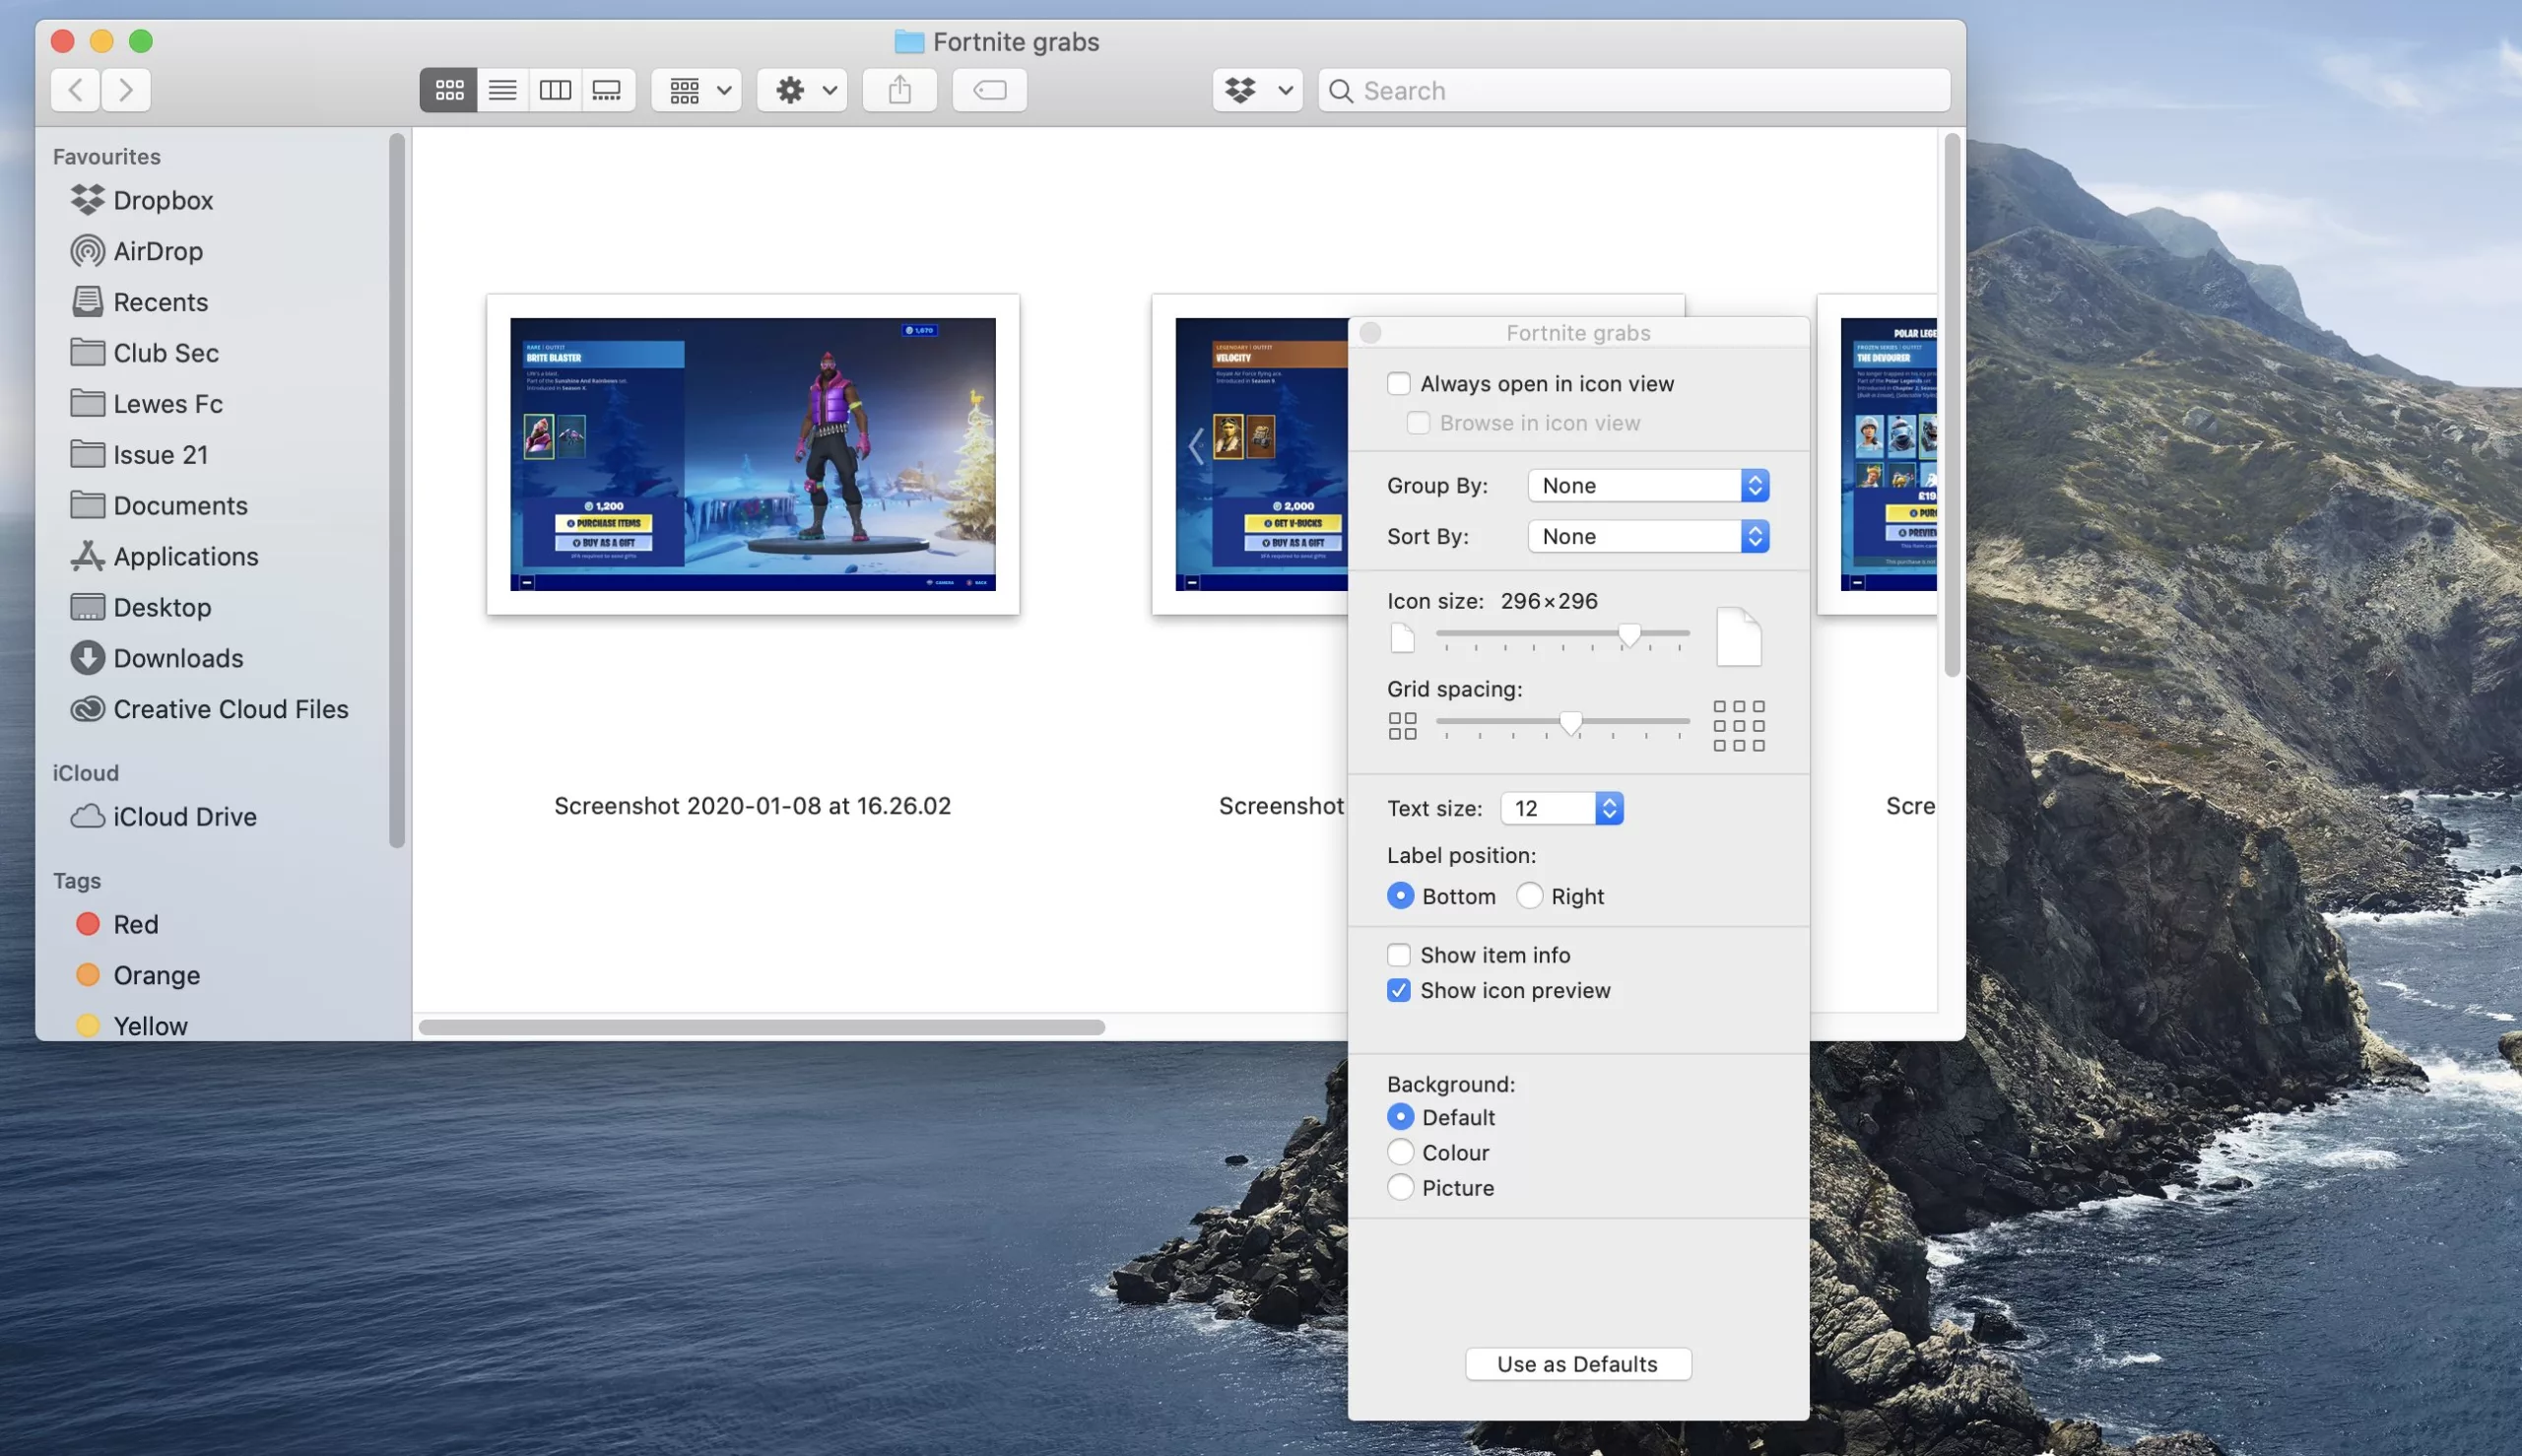
Use the icon size slider to enlarge the icons/thumbnails to your desired size. You should see the size of the thumbnail images in the background increase/decrease as you move the slider.
- Set the new size as your default
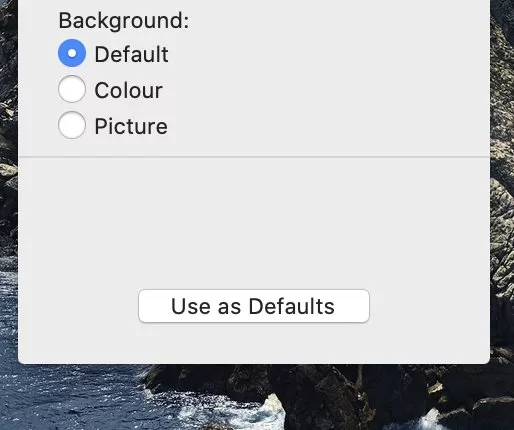
Once you’re happy with the size of your thumbnails, hit the button at the bottom of the menu that says Use as Defaults and that new size will be applied across every folder on your Mac.
Related reading: Where is the delete key on a Mac keyboard?
Related explainers
NEXT UP

Panos Skliamis, CEO of SPIN Analytics: “It’s important to see the changes we’re living through in the context of the transformations that have come before”
We interview Panos Skliamis, CEO of SPIN Analytics, an AI-driven platform that automates credit risk management and regulatory compliance

Why hiring for skills future proofs business operations in cyber and tech
For business operations in cyber, hiring based solely on previous experience and formal education is no longer practical, argues Ev Kontsevoy.

Riken to integrate IBM’s quantum system with supercomputer Fugaku
IBM and Japanese laboratory Riken have announced an agreement to deploy IBM’s quantum system and integrate it with supercomputer Fugaku


