Trending Topics

 Trending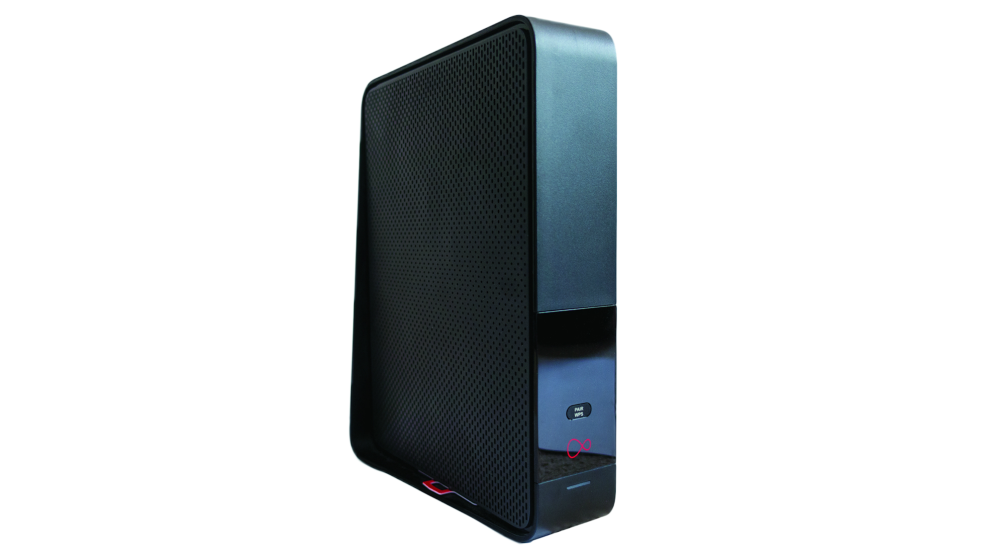
How do I access Virgin Media router settings?

Table Of Contents−Advanced Hub Settings and Security Tips
- How to change Virgin Media router settings
- Access Virgin Media router settings in modem-only mode
- How to reset your Virgin Media router to factory settings
- How to change your Virgin Media Wi-Fi network name and password
- How to check which devices are connected to your Virgin Media router
The answer to this question very much depends on which mode you’re using on your Virgin Media router. There are multiple ways to access Virgin router settings, and we’ll show you them.
The vast majority of people will use the Virgin Media router (or Virgin Media Hub, as the company calls it) in normal router mode, where the router is providing the Wi-Fi to the home.
Related reading: What is Wi-Fi 7?
How to change Virgin Media router settings
In normal router mode, you access the Virgin Media router settings by:
- Typing http://192.168.0.1 into your web browser (or by clicking on the link to the left)
- Entering the router settings password in the box shown on the screen – you’ll find that password on a sticker on the base of the router. Note – you’re looking for the ‘settings password’ not the ‘Wi-Fi password’.
- One more thing – if you’re trying to get into your settings because the Wi-Fi has gone down, you’ll need to connect the computer to the router by Ethernet cable.
Access Virgin Media router settings in modem-only mode
One of the settings you may have previously accessed using the address above is the one to put the Virgin Media router in modem-only mode. This is the mode you choose if you’ve decided to use a third-party router, such as the Netgear Orbi system or Google Wifi. Modem-only mode switches off the Wi-Fi and just provides an internet connection to your new router, via an Ethernet cable.
If you need to get into the Virgin Media router settings whilst it’s in modem-only mode (to put it back into router mode, say) then you’ll need a slightly different address to the one posted above. This time you must:
- Type http://192.168.100.1 into your web browser (or click the link on the left)
- Then enter the router settings password in the box shown on the screen
Note that you’ll need to connect your router to a laptop/PC directly by Ethernet cable to access the router settings in modem-only mode. In my experience, it’s normally best to reboot the router before doing this and remove any other Ethernet cables from the back of the router.
How to reset your Virgin Media router to factory settings
If you’re having persistent issues with your Virgin Media Hub, or if you’re locked out of the settings because of a forgotten password, you can reset the router to its factory default settings. This will erase all custom configurations including Wi-Fi names, passwords and advanced settings.
To do this:
- Locate the reset button on the back of the router. It’s usually a small hole marked ‘Reset.’
- Use a paperclip or a pin to press and hold the button for at least 10 seconds.
- Release the button and wait for the router to reboot. This typically takes a couple of minutes.
- Once reset, reconnect using the default Wi-Fi details printed on the label under the router.
- You’ll now be able to access the settings page again using the default password printed on the same sticker.
How to change your Virgin Media Wi-Fi network name and password
Changing your Wi-Fi name (SSID) and password is a good idea, particularly if you’re still using the factory defaults or if you suspect neighbours might be trying to connect to your network. It’s quick and easy to do:
- Access your router settings
- Log in with your router settings password.
- Select Advanced settings, then go to Wireless.
- In the wireless settings section, you’ll see your 2.4GHz and 5GHz network names — you can change them both to something memorable.
- Update the Wi-Fi password fields with a strong, secure password.
- Click Apply changes and reconnect your devices using the new credentials.
How to check which devices are connected to your Virgin Media router
If your connection seems slow or you’re concerned about unknown devices using your Wi-Fi, you can quickly check the list of connected devices from the router dashboard:
- Log into your Virgin Media router settings as described earlier.
- Navigate to Connected devices or Device manager.
- You’ll see a list of all devices currently connected to your Wi-Fi and via Ethernet, along with their IP and MAC addresses.
- If you spot anything unfamiliar, you can either remove it or change your Wi-Fi password for added security.
Advanced Hub Settings and Security Tips
Virgin Media regularly pushes firmware updates to its Hubs to fix bugs and security flaws (e.g. a 2018 update patched critical vulnerabilities). Always keep your Hub on the latest firmware – reboot it or check the Virgin Connect app – to ensure you benefit from those fixes. Equally important is hardening the Hub’s security. Change the default admin password (different from your Wi-Fi password), disable remote administration, and switch off WPS (the push-button pairing) once your devices are connected. Disabling UPnP is also wise for tighter control – if a device needs a port open, add it manually rather than letting the Hub auto-forward ports.
Guest Wi-Fi, QoS and Parental Controls
Enable the Hub’s guest network to give visitors Internet access without exposing your main LAN. You can even cap its bandwidth so guests don’t hog your connection. Use the Virgin Connect app to create and schedule guest SSIDs, or set time limits on any device (for example, pausing Wi-Fi during bedtime). The Connect app also lets you view all connected devices and pause each one individually – handy for on-demand parental controls.
Static IPs and Device Stability
For critical devices (printers, NAS drives, IP cameras), reserve DHCP IPs or assign static addresses. This ensures port-forward rules or network shares don’t break when the Hub reboots. In your Hub’s DHCP settings, bind each device’s MAC address to a fixed IP. Then test by rebooting the Hub and confirming the device still has the same IP.
Wi-Fi Performance Tuning
Finally, optimise coverage and avoid interference. Place the Hub centrally and elevated (not hidden in a cabinet) for best range. Use a Wi-Fi analyser (smartphone apps are available) to pick the least congested channel on 2.4GHz and 5GHz. Consider a mesh/Wi-Fi pod system if your home is large or has thick walls. Always test changes: reboot the Hub, reconnect a device, and verify the new settings.
| Action | Why | How briefly | Quick check |
|---|---|---|---|
| Update firmware | Gets critical security patches | Reboot Hub or use Connect app to refresh | Verify latest version shown in settings |
| Disable WPS & set strong admin password | Prevents unauthorized access | In Hub’s advanced settings, turn off WPS and change admin credentials | Try logging into admin page; WPS push-button should do nothing |
| Enable Guest Wi-Fi | Isolates visitors, protects home LAN | Use Hub settings or Connect app to enable a guest SSID | Join the guest Wi-Fi and check main devices are unreachable from it |
| Reserve IP addresses | Keeps key devices at fixed LAN IP | In DHCP settings, bind MAC addresses to chosen IPs | Reboot and confirm devices retain assigned IP |
Two-step test: After making changes, 1) reboot the Hub; 2) reconnect a device to each network (main and guest) or ping a reserved IP. This confirms the new passwords, IP reservations and guest isolation are all working correctly.
Click here to find out what the WPS button on your Virgin Media router does
This article was updated on the 18th May 2026 with additional instructions.
About The Author

TechFinitive staff
NEXT UP