Trending Topics
How do you update the BIOS on an Acer Aspire One?
Table Of Contents−
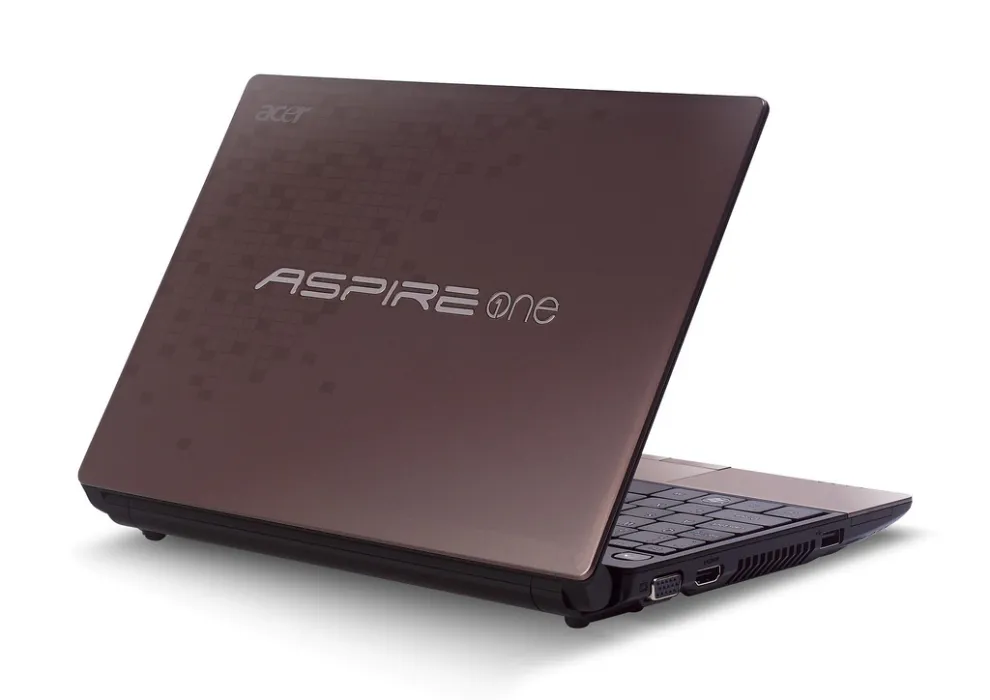
TechFinitive is going back to a time when Netbooks were a thing and the Acer Aspire One was a popular choice. I had one and somehow loved that Atom processor and total lack of Bluetooth connectivity. That said, the process of updating the BIOS on an Acer Aspire One was painful.
Back in 2009, manufacturers didn’t always provide a BIOS that could simply be run from inside Windows and everything would just, well, work. Instead, there were often hoops to jump through, making any update tricky. Through a combination of reading various forums and speaking to fellow owners, I managed to work out how to do it. So, for those who still have one (and, yes, many people still do), here’s a guide.
Related reading: How Acer Conscious Technology is leading the way for green PC manufacturers
Which Aspire One devices does this work for?
This guide was devised for the Windows XP version of the Aspire One (A1), rather than the Linux version.
Where to find the latest BIOS
Your first challenge is to find the BIOS, due to the age of the device. Some of the new Aspire One models still have their BIOSes listed on the Acer website. For older models, you may have to find it on an archive site, such as Softpedia.
Once you’ve downloaded the BIOS file, ensure the result is uncompressed.
Which install method?
In time, Acer made the installation of the BIOS much simpler. If you look in the uncompressed folder that you created above and find a .exe file (either in the root folder or one named windows) then you may be in luck. Open up any accompanying readme.txt files and it should tell you how to perform the installation.
For example, the latest BIOS from Softpedia, compatible with the A110 and A150, states the following:
- Connect AC power
- Click InsydeFlash
- Click “sure” to start flash BIOS
For the 521 model, still available from Acer, it states:
Windows flash: Please click "ZH9_111W.exe" to update biosEven simpler. Although I’d make sure you have the power cord connected, as instructed in the first one.
However, some of the older BIOS updates were not so simple, with no way to run it from inside Windows and little more than a .bat file to run. If you have an A1 not running Windows then, equally, the update path isn’t obvious. In these cases, check out the following instructions.
Preparing for the BIOS upgrade
In a nutshell, the BIOS has to be upgraded via DOS, and not the Command Prompt DOS-a-like that Windows XP offers. That means putting DOS on a USB stick and booting from it. Here’s what you’ll need:
- A USB memory stick or drive. I read somewhere that recommended a 4GB capacity one but your experience may vary. When I last tried it, the software was a little under 4GB in size, so this may be why. Either way, it needs to be formatted as FAT32 and not NTFS.
- An installation of UNetbootin. This is a free program that will create a bootable USB device with one of a number of downloadable operating systems, including any you may own. Download and install a version that works on whichever device you want to do this on.
- A download of the latest BIOS (see above)
How to update the Acer Aspire One BIOS
Prepare your USB drive
- Ensure your memory stick is plugged into and launch UNetbootin
- It will prompt for a “Distribution” – change this to “FreeDOS”
- At the bottom of the window ensure the “Type” is “USB Drive” and the “Drive” is the drive letter of your USB memory stick
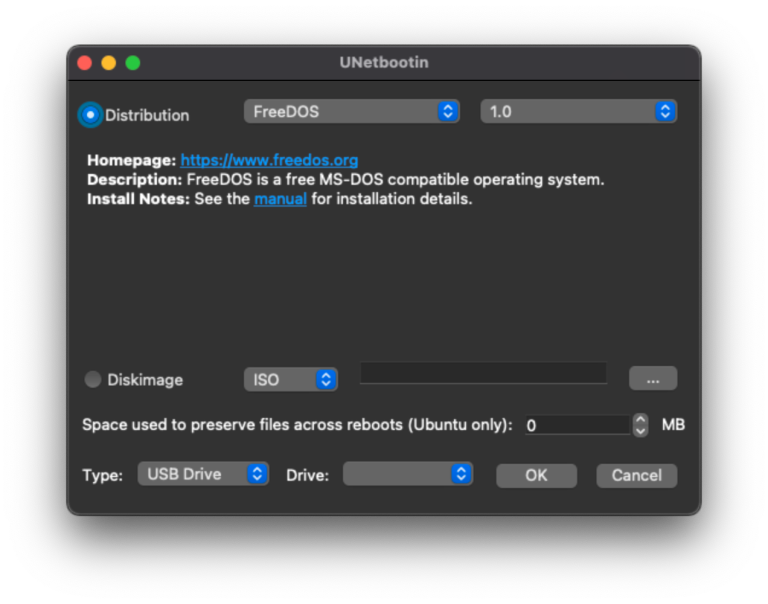
- Click on “OK” and FreeDOS will be installed onto the USB drive
- Now copy the BIOS files onto the USB drive
Configure your BIOS
- Reboot your A1 and press F2 at the “splash screen” to go into the BIOS settings
- Once in the BIOS, select the Boot Menu and move the USB HDD to the top of the list (using F5 and F6 to move them up and down)
- Ensure your USB drive is plugged in and press F10 to save and exit
- Your Acer should now boot from the USB stick
Install the BIOS updated
- The FreeDOS screen will appear with an option to select a default option – use this!
- You will now be presented with a list of boot options – select option 5 (FreeDOS Live CD)
- FreeDOS will now have started and you’ll have a standard DOS screen. Go into
C:(which is actually your USB memory stick) and find the BIOS files you saved earlier. In particular, find the.batfile and run it - The BIOS should now install and reboot your Acer. Make sure to change the BIOS back to boot from your hard drive in future (and, whilst you’re there, check the BIOS front screen to ensure the BIOS version number is correct!)